Growing Nashi Pears in Australia
How to grow nashi pears in Australia: climate, planting, pollination, watering, pruning, and the pests that matter most in backyard orchards.
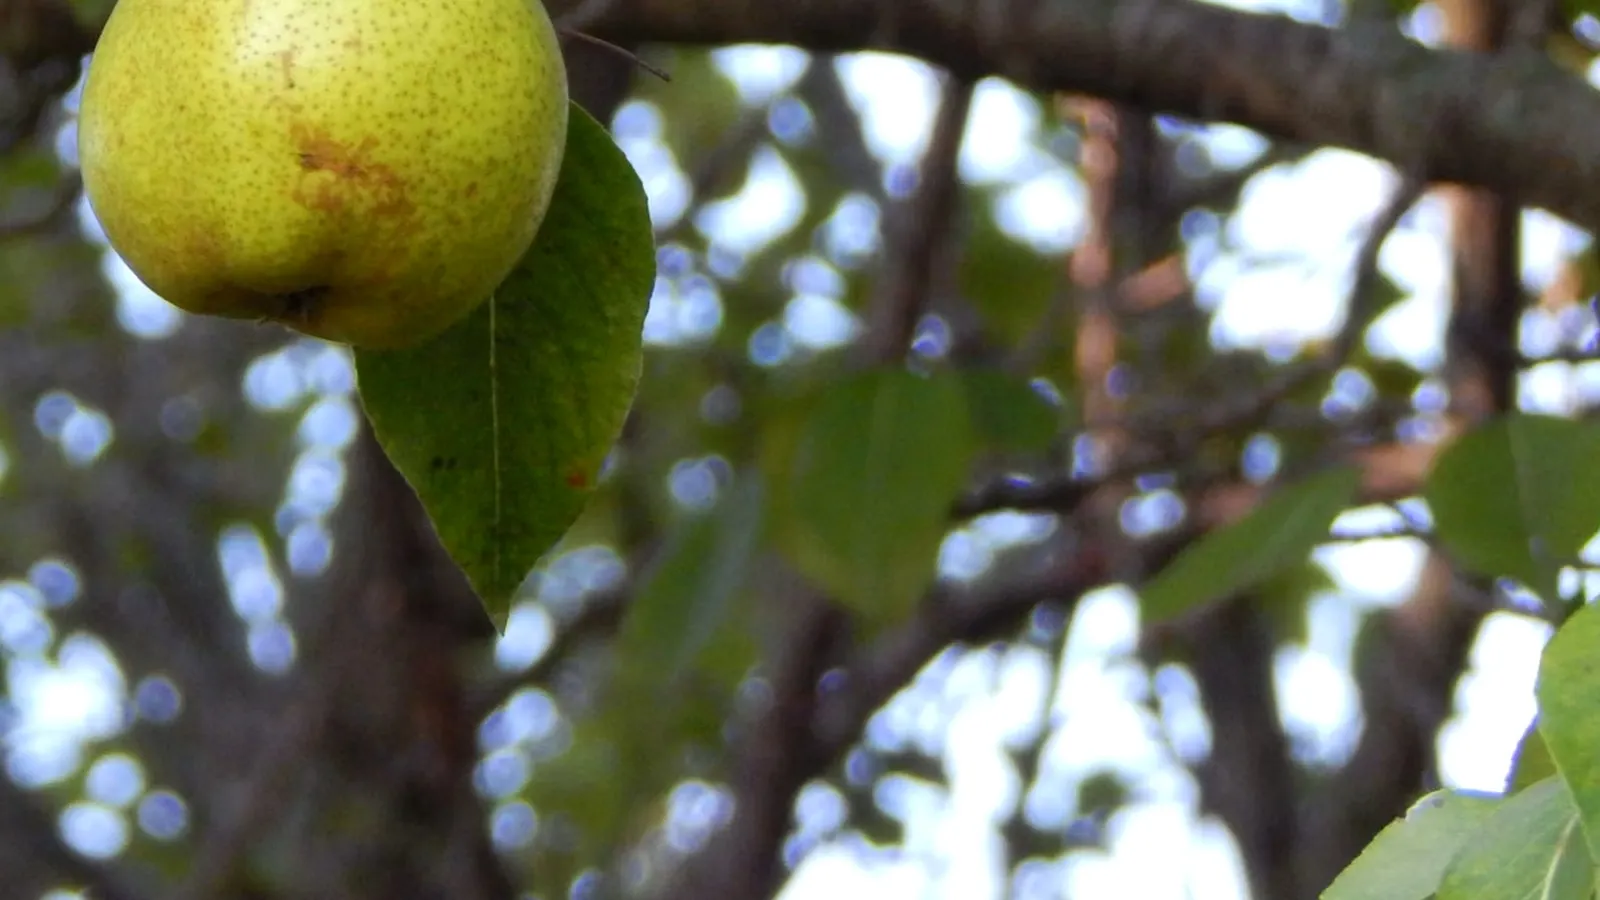
Growing nashi pears in Australia works well in any zone with a real winter chill, from cool temperate Tasmania to the highland pockets of the Granite Belt. The tree is hardy, the fruit ripens through late summer and autumn, and most varieties cope with mainstream backyard soils. The one issue that catches new growers out is pollination. Nashi mostly need a second pear variety in flowering range, and many “no fruit” complaints come back to a tree planted on its own.
This is the pillar guide. Use it as a map and follow the linked pages for detail on varieties, care, pollination, and pest control.
Where nashi grow well in Australia
Nashi pears want winter cold, a clear spring, and a warm fruiting summer. The commercial heartland is the Goulburn Valley around Shepparton, Ardmona, Mooroopna, and Tatura, with smaller industries in the Huon and Tamar valleys of Tasmania and the Granite Belt around Stanthorpe and Applethorpe in Queensland.
For backyard growers, the rule of thumb is chill hours below 7°C. Nashi need roughly 600 to 800 chill hours, depending on variety. Hosui needs about 500, Nijisseiki closer to 600. Cool temperate cities like Melbourne, Adelaide, Canberra, and Hobart easily meet this. Sydney and Perth manage in average years. Brisbane and the coastal subtropics are marginal, and growers there should look at the lower chill varieties on the best nashi pear trees for Australian backyards page.
Mediterranean climates (Adelaide, Perth, western Victoria) are some of the best in the country for nashi. Dry summers cut disease pressure, and a reliable winter chill sets a strong flower crop.
Site selection and soil
Pick a sunny, open position. Nashi want at least six hours of direct sun in summer and good air movement to dry foliage after rain. Avoid frost hollows where late spring frosts can damage open flowers.
Soil should be free-draining. Heavy clay needs gypsum and raised beds. Sandy soils need compost and a deep mulch layer. The target is a slightly acid to neutral pH, around 6.0 to 7.0. Most Australian nurseries graft nashi onto Pyrus calleryana (Callery pear) or Pyrus betulifolia rootstock, which tolerates a wider range of soils than quince rootstocks used for European pears.
Allow 4 to 5 metres between full size trees, 2.5 to 3 metres for semi-dwarf, and as little as 60 cm for espalier work against a fence.
When and how to plant
The standard planting window in southern Australia is winter, from June through August, when bare-root trees are available from nurseries like Daley’s Fruit Trees, Engall’s, Yalca Fruit Trees, and Diggers Club. Bare-root stock establishes faster and costs less than potted trees.
Dig a hole twice as wide as the root ball and roughly the same depth. Soak the roots in a bucket of water with a splash of Seasol for an hour before planting. Plant so the graft union sits 5 to 10 cm above soil level. Backfill, firm gently, water in deeply, and mulch.
Stake young trees against wind for the first two years. Use a soft tie that will not cut into the stem as the trunk thickens.
Pollination
This is the one nashi issue that catches more home gardeners than any other. Most nashi varieties are not reliably self-fertile. A single tree in a suburban backyard with no other pear nearby will often flower beautifully and set little or no fruit.
The fix is a compatible pollinator within roughly 30 to 50 metres, flowering at the same time. That can be another nashi (Hosui with Nijisseiki is a classic pair) or a European pear like Williams (Bartlett) or Beurre Bosc. Some literature lists Hosui as partly self-fertile, and you may get a light crop on a lone tree, but a partner is still the reliable choice.
The full breakdown of compatible pairings and what to do if your tree is already in the ground is on the pollinating nashi pears page.
Watering
Newly planted trees need water every day for the first four to six weeks, then two or three deep soaks a week through the first summer. Established trees need a deep weekly soak in dry weather, less in winter.
The deepest watering should come during flowering and fruit development in spring and summer. Stressed trees drop fruit. The simplest test is to push a finger 5 cm into the soil at the drip line: if it comes up dry, water now.
Potted nashi dry out fast and may need water every day in summer. Drip irrigation with a timer is the easiest setup for anyone running more than one tree.
Fertilising and mulching
Nashi are moderate feeders. Three light applications a year cover most backyard needs:
- Late winter (August) just before bud burst
- Late spring (November) after fruit set
- Autumn (April) after harvest to feed the tree for next year
A general fruit tree fertiliser like Yates Thrive Citrus & Fruit applied at label rates around the drip line is fine. Avoid heavy nitrogen at flowering, which causes flowers to drop. Seasol is safe to use at any time and supports root function.
Mulch with sugarcane mulch, pea straw, or lucerne to a depth of 5 to 10 cm out to the drip line. Keep mulch 10 cm clear of the trunk to avoid collar rot. Top up mulch each spring and autumn.
Pruning and training
Nashi are usually trained as a vase (three or four main scaffold branches) or as a central leader. Espalier works very well on fences and is the standard treatment in small gardens. The fruit forms on short spurs that crop for several years, so the aim is to build and renew spur wood rather than to chase strong leader growth.
Prune in winter when the tree is dormant. Remove crossing branches, water shoots, and dead wood. Shorten the previous season’s leaders by about a third. Summer pruning is useful to control vigour on espalier trees.
Detailed pruning and seasonal care is covered on the nashi pear tree care page.
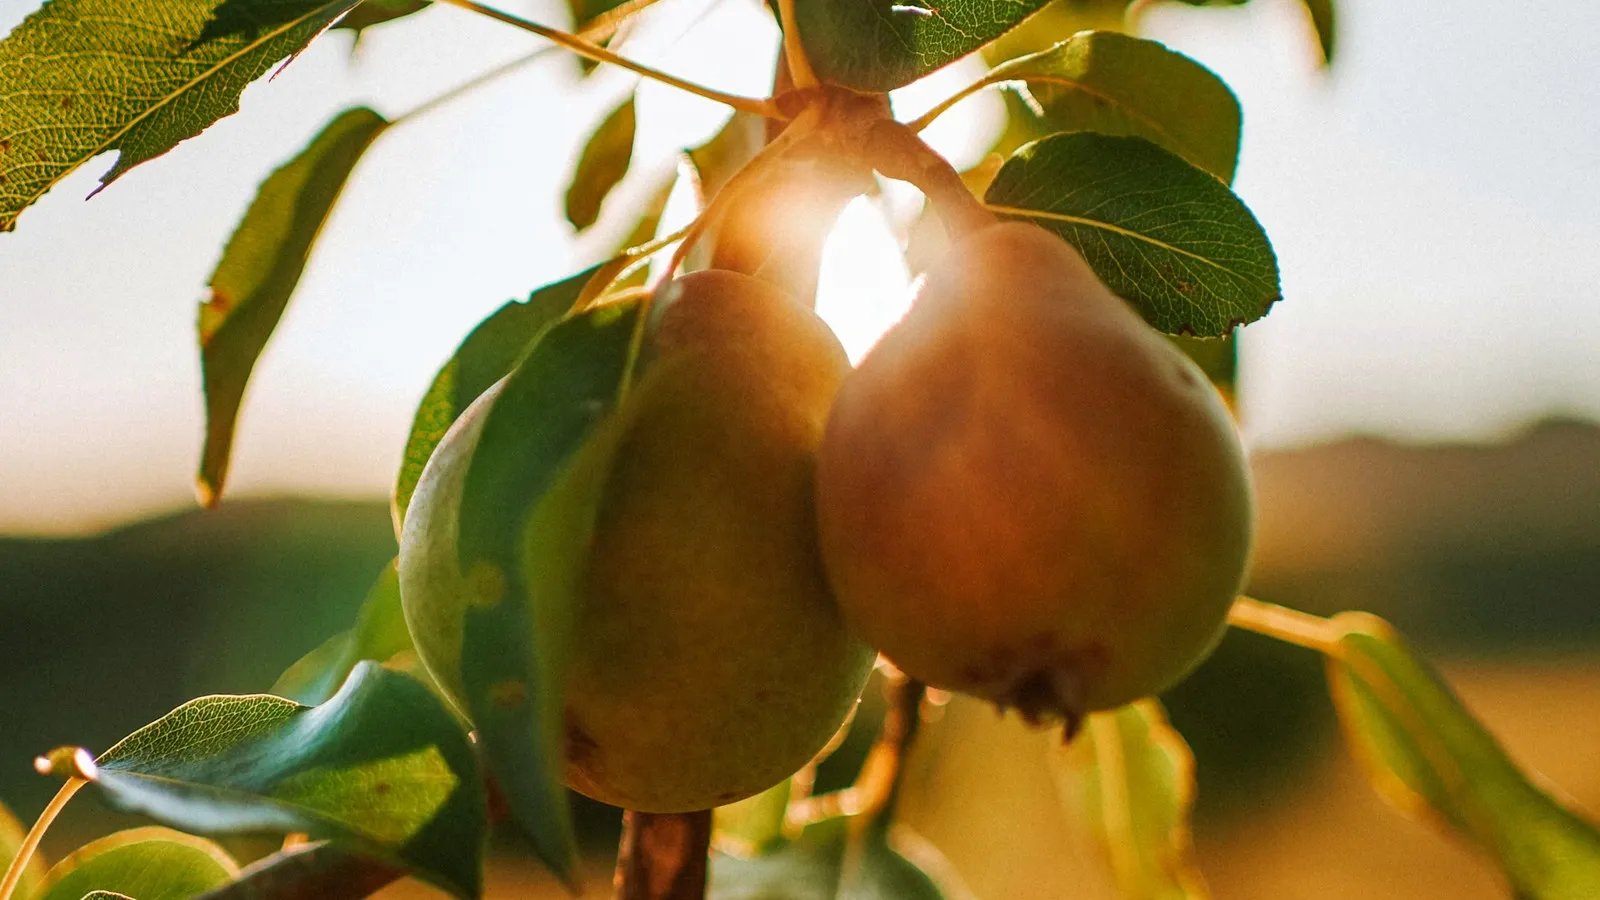
When fruit comes
A grafted nashi planted as a bare-root tree in winter will usually produce its first useful fruit in year three or four. Some trees throw a few fruit in year two but it is sensible to remove them and let the tree build structure. Full cropping comes from about year five onwards.
Thin heavy crops in spring once the fruitlets are pea-sized. Leave one fruit per cluster, with clusters spaced about 15 cm apart along the spur. Thinning lifts fruit size and reduces biennial bearing.
Pests and diseases in Australia
The headline pest is codling moth (Cydia pomonella), the same insect that damages apples. Larvae bore into developing fruit and ruin the crop. Pheromone traps, fruit bagging, and granulosis virus sprays are the backyard tools. Apple and Pear Australia (apal.org.au) and Agriculture Victoria publish detailed monitoring guides for commercial growers that translate well to backyards.
Pear and cherry slug (Caliroa cerasi) is the small black sawfly larva that skeletonises leaves in summer. Hose them off, dust with wood ash or lime, or spray with a registered insecticide if numbers get out of hand.
Pear scab (Venturia pyrina) shows as olive-brown spots on leaves and corky lesions on fruit in wet springs. Copper sprays at bud swell and petal fall are the standard organic option.
Fire blight (Erwinia amylovora) is the disease that destroys pear orchards in many parts of the world. It is not currently established in mainland Australia and is reportable on detection. Any sudden wilting and blackening of new shoots and flowers in spring should be reported to the Exotic Plant Pest Hotline on 1800 084 881.
Quick start checklist
- Choose two compatible varieties for cross-pollination.
- Plant bare-root in winter, in full sun, in free-draining soil.
- Water deeply through the first summer.
- Mulch thickly, keep mulch off the trunk.
- Fertilise lightly three times a year.
- Hang a codling moth trap from October.
- Prune in winter, train as vase, central leader, or espalier.
- Expect first useful fruit in year three or four.
Related pages
Explore Growing
Codling Moth in Nashi Pears
Codling moth is the No. 1 pear pest in Australia. How to monitor, trap, bag, and spray to protect backyard nashi pears through summer.
Nashi Pear Tree Care
Nashi pear tree care for Australian backyards: a year-round calendar for watering, fertilising, mulching, pruning, and pest checks.

Pollinating Nashi Pears
How to pollinate nashi pears in Australia: compatible variety pairs, flowering overlap, distance, bee activity, and hand pollination for single trees.

The Best Nashi Pear Trees for Australian Backyards
The best nashi pear trees for Australian backyards by climate zone and garden size, with the pollination partner each variety needs.